
My number one goal when creating a new unit or starting any modeling project is to create a story within the model. For me, being able to look at a model or unit and immediately see a glimpse into their 'reality' is a huge part of the joy of conversion.
The image i dreamed up was a squad of nurgle havoks, bloated bodies rippling against the recoil of their guns, oil smoke acrid fumes and bullet casings abounds while small nurglings climbed all over them, un-jamming weapons and re-loading launchers.

*Note: The earlier my project, the less complete my step by step photos are, and now that I am writing a blog future projects will be documented better.
To complete this project, I needed a fair bit (However the bitz left over are extensive and easily enough to make another 5 marines)
- 1 box of finecast havoks
- 1 forgeworld death guard conversion kit
- 1 box of nurglings
- 1 box forgeworld autocannons
- 1 forgeworld chaos militia etched brass (only one piece used)
- A space marine missile launcher.
- plasticard and plastic tubing
- Green stuff
Most of the green stuff work was simple enough, molding swellings and lumps onto the limbs of the Havoks to give them that nurgle touch. Added to this was a small amount of plasticard work, cutting and gluing extra spikes and decorations onto the models as well as gouging and drilling damage and rot into the armor of the marines.


Things began to get more complicated when I had to cut, re position and remake nurgling limbs to make them perform the tasks I wanted them to. Unfortunately I did not record a lot of the work I did on the other nurglings in the squad, only the one reloading the missile launcher. Following this i made a crotch cloth that was meant to look like pieces of flesh stapled together, it came out OK - but was really just practice for what I had in store for the champion.


When it comes to modelling, I follow WYSIWYG pretty closely, mostly because I think models look awesome fully decked out - To this end I made up some grenades and a nurgle bolt pistol in holster.

The biggest challenge of the squad came to me in the form of the sergeant. I had this image in my mind of the bulging head of a deamon hanging from his back like a disgusting goiter, drooling foul puss onto the ground that was slavered up by gibbering nurglings as they went... Foul I know, but in my mind, so perfectly nurgle i had to see if I could make it happen.
As far as modeling the head went, it was a simple process in so far as the techniques used, I just went back and layered three consecutive and more detailed stages of green stuff work onto the champions back, and then decorated with plasticard.


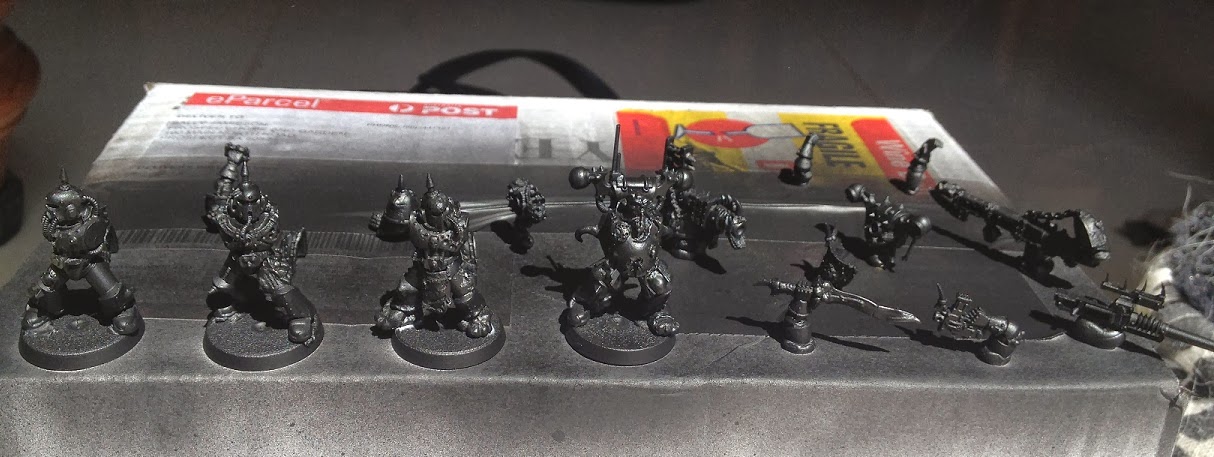
I was happy with the end result. My first major effort sculpting something and it turned out basically as intended. Now it just needed some paint. That's all for this post, next post will be part 2 - The painted Havoks. Heres a few more images of the rocket launcher Havok and the group undercoated and ready to paint!
Thanks for reading!David.


No comments:
Post a Comment